How can I create a DIY gallery wall in my living room?

Creating a DIY gallery wall in yoru living room is a fantastic way to showcase your personality, memories, and style all in one eye-catching display. Whether you’re working with a blank wall or looking to refresh an existing space, a gallery wall can transform your living area into a warm and inviting gallery that tells your unique story. In this article, we’ll walk you through practical tips and step-by-step guidance to help you design and assemble your own stunning gallery wall, even if you’re new to home decorating.Ready to turn your living room into a stylish focal point? Let’s get started!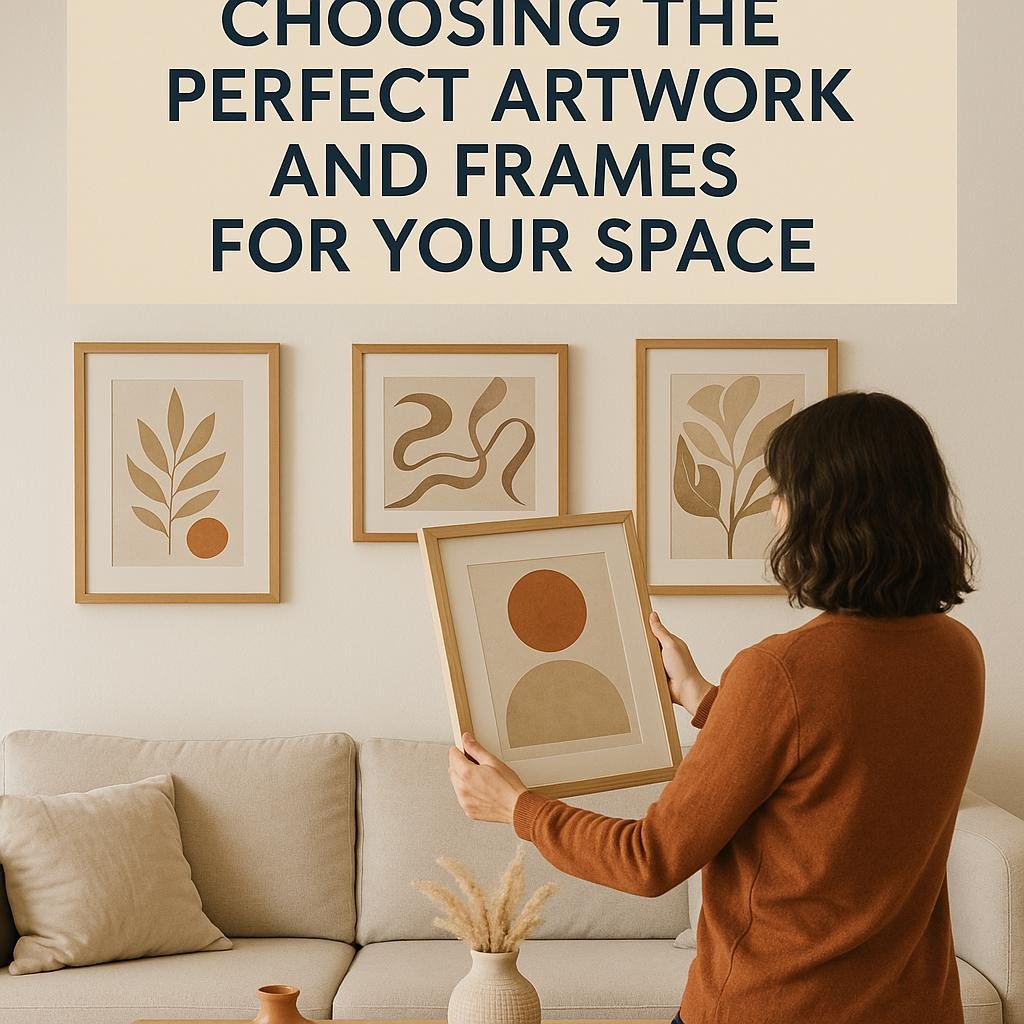
Choosing the Perfect Artwork and Frames for Your Space
Balancing artwork and frames in your gallery wall is key to creating a cohesive and inviting space. Begin by selecting pieces that resonate with your personal style and the mood you want your living room to evoke. Consider mixing various art forms-prints,photographs,and even small sculptures-to add depth and interest. When it comes to frames, consistency often works best; however, a subtle mix of textures and colors can create an eclectic yet harmonious look. For example, pairing black metal frames with natural wood tones introduces warmth while maintaining a modern aesthetic.
To help you visualize your options, here’s a quick guide on popular frame styles and their benefits:
| Frame Style | Ideal Artworks | Vibe Created |
|---|---|---|
| Minimalist Black | Photography, Modern Prints | Sleek, Contemporary |
| natural Wood | Botanical Prints, Watercolors | Warm, Organic |
| Vintage Gold | Classic Art, Portraits | Elegant, Timeless |
| white Frames | Abstract, Kids’ Art | Fresh, Airy |
Pro Tip: Lay your framed artworks on the floor first to experiment with arrangements and ensure balance before hanging anything. using painter’s tape to map out the layout on your wall can also save time and prevent unwanted holes. Remember, the perfect selection of art and frames can transform your living room into a personal gallery that sparks conversation and joy.
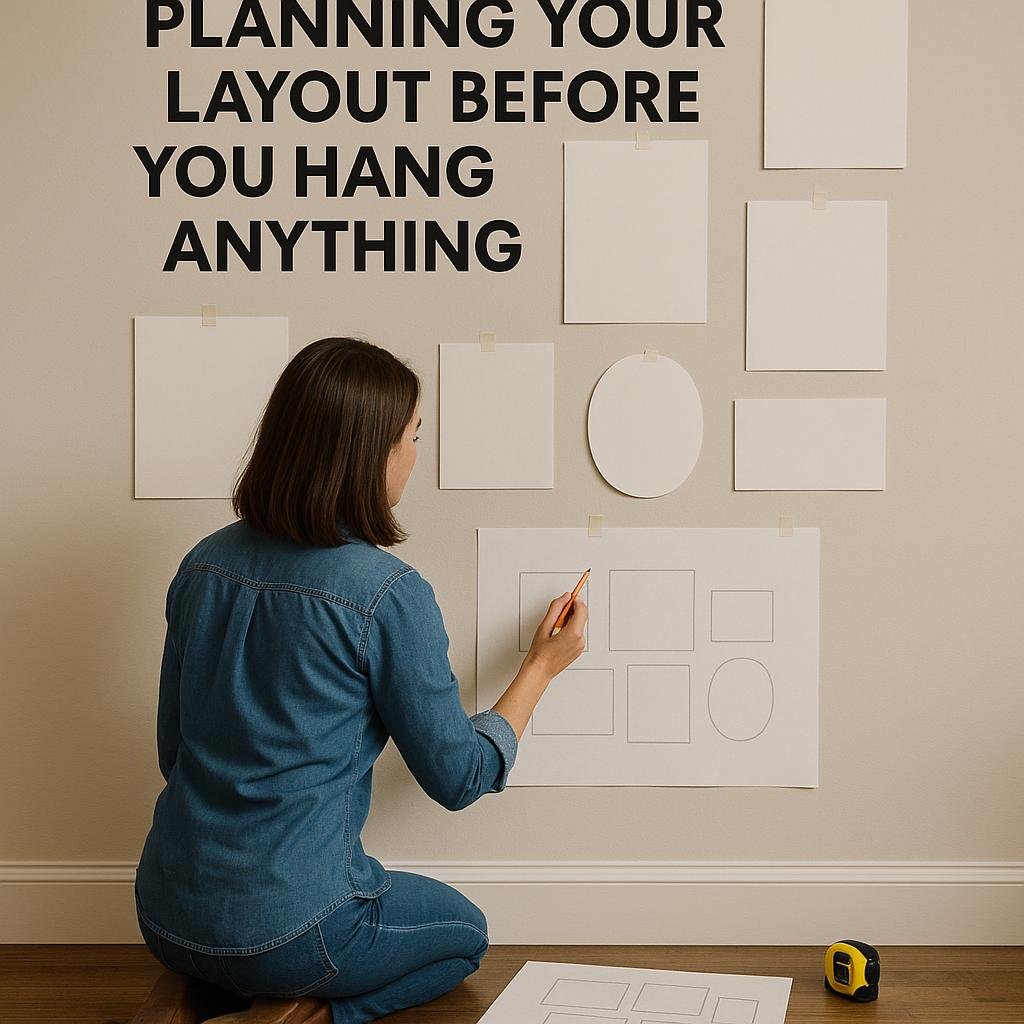
Planning Your layout Before You Hang Anything
before placing a single nail in your wall, take the time to envision the entire arrangement to ensure visual harmony. Start by gathering all your frames and artwork, then arrange them on the floor or a large table to experiment with different configurations. This hands-on approach allows you to play with spacing, balance, and the overall flow without committing to a final layout. Consider mixing frame sizes and shapes to create a dynamic yet cohesive look, and keep in mind the wall space available – to crowded or too sparse can affect the impact of your gallery.
To make your planning more precise, use a simple measurement chart like the one below to guide your spacing decisions and maintain consistency between pieces. Also, don’t forget to take into account the height and furniture placement in your living room. Aim to center the gallery wall roughly at eye level and ensure it complements surrounding elements. Use painter’s tape to map out frame edges directly on the wall, helping you visualize placements before hanging anything permanently.
| Spacing Type | Ideal Distance | Effect |
|---|---|---|
| Between Small Frames | 2-3 inches | Creates intimacy and cohesion |
| Between Large frames | 4-6 inches | Gives room to breathe and focus |
| Frame to Furniture | 6-8 inches | Keeps balance with room elements |

Essential Tools and Materials for a Smooth Installation
Creating a gallery wall that truly shines requires having the right set of tools at your fingertips. Before you start hammering nails, gather essentials such as a tape measure for precise spacing, a level to keep your frames perfectly straight, and a pencil for marking spots on the wall. Don’t forget sturdy picture hooks or nails rated for the weight of your frames, and a rubber mallet can be gentler on your walls compared to a regular hammer. For those using adhesive solutions, having extra picture hanging strips can reduce wall damage while still supporting your artwork.
Alongside your hanging tools, selecting the right materials will make your DIY gallery wall both beautiful and durable. Opt for a mix of frame styles and sizes to add depth, but make sure they share a common theme or color palette for cohesion. Consider lightweight frames if you plan to rearrange frequently. A handy reference can be the table below, which highlights recommended hanging hardware matched to different wall types and frame weights for a trouble-free setup:
| Wall Type | Frame Weight | Recommended Hanging Hardware |
|---|---|---|
| Drywall | Light (under 5 lbs) | Adhesive Hooks or strips |
| Drywall | Medium (5-15 lbs) | Standard Picture Hooks |
| Plaster | Heavy (15+ lbs) | Wall Anchors or Toggle Bolts |
| Brick or Concrete | All Weights | Masonry nails or Screws with Anchors |

Tips for Mixing Different Art styles and Personal Touches
Balancing various art styles within a single gallery wall is all about harmony and intentional contrast. Start by choosing a unifying theme-whether it’s a color palette, subject matter, or frame style-that ties diverse pieces together without overwhelming the eye. For instance,combining abstract prints with vintage photographs works beautifully when the frames share a common color or texture. Don’t shy away from mixing materials like wood, metal, or canvas; these tactile differences add depth and character. Remember: letting some pieces breathe with ample space creates a dynamic flow, preventing clutter and allowing each artwork to shine.
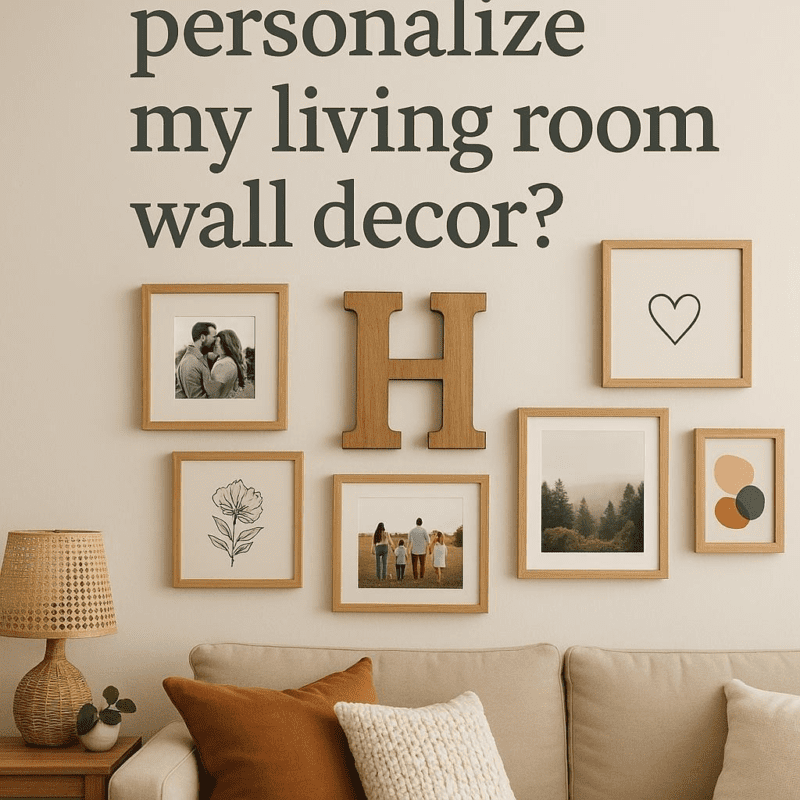
Injecting your personal touch transforms a gallery wall from a simple collection into a meaningful expression.Consider integrating handmade art,family photos,or travel souvenirs in small shadow boxes to make it uniquely yours. You can also incorporate items like small sculptures or fabric wall hangings for textural intrigue. use the checklist below to ensure every element contributes to your story:
- Color Coordination: Keeping a consistent or complementary color scheme
- Texture Variety: Mixing smooth, rough, shiny, and matte finishes
- Frame Unity: Using similar frame styles or colors for cohesion
- personal relics: including sentimental objects for authenticity
- Balance: Distributing visual weight evenly across the wall
Future Outlook
Creating a DIY gallery wall in your living room is a rewarding project that adds personality and charm to your space. By carefully selecting artwork, planning your layout, and taking time to arrange your pieces, you can craft a stunning focal point that reflects your style. Remember, there’s no right or wrong way to build your gallery wall-let your creativity guide you. With these tips in hand,you’re ready to transform your living room into a unique and inviting gallery that truly feels like home. Happy decorating!